
This post and short tutorial is going to talk a bit about Focus Stacking in Photoshop.
How to merge together a set of images, with different focal points to create an image that is in focus and sharp from front to back.
Check out the video if you are a ‘watching’ rather than ‘reading’ type of person!
It is typically used in Macro Photography, where the camera is close to the subject. As a result, it is impossible to get everything you want in focus.
It could also be used in Landscape etc, and many more situations.
If you’d rather read, then here you go!
Take this image for example:
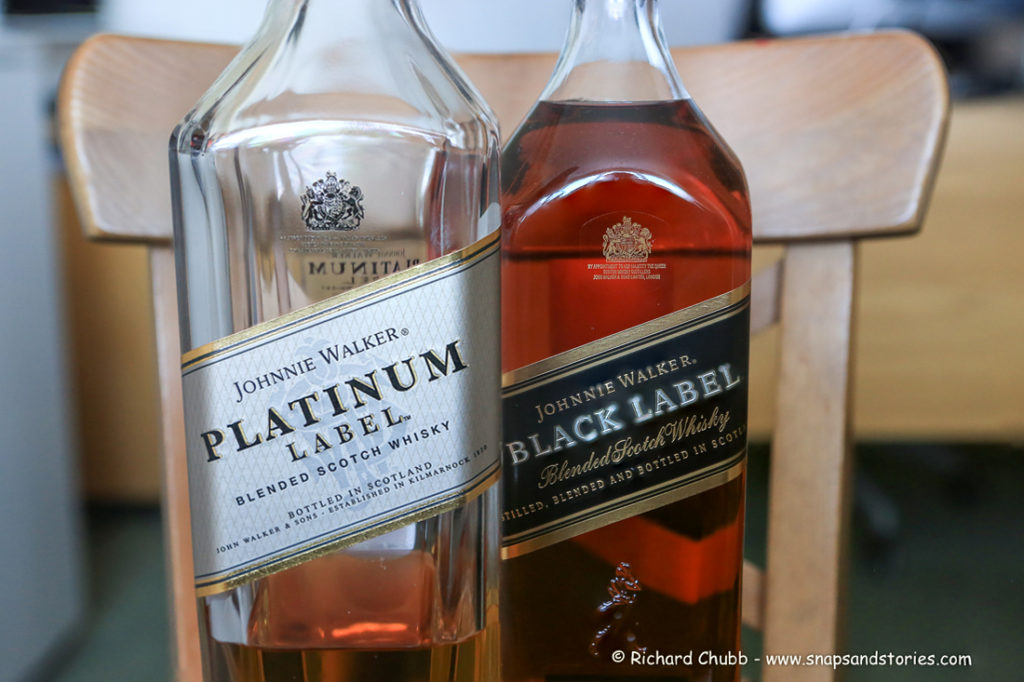
You can see that both the Platinum and Black Label bottles are in focus.
However, this is as a result of Focus Stacking several images, to create this final shot. Here were the original images I used. Click to see them bigger for a more detailed view.
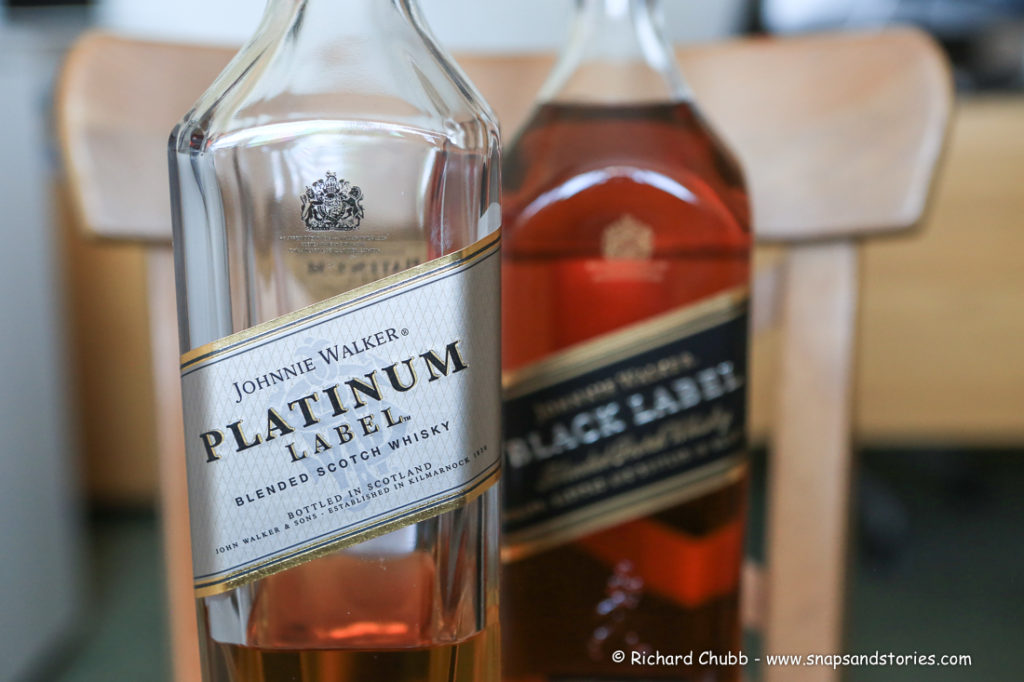

This was quite a simple Focus Stacking exercise, just using three images. You could, of course, use many more shots to create Focus Stack.
Basically, Photoshop will take these images, layer them together, and the result will be an image where Photoshop picks the sharpest parts of the original photos to make one Photo.
Here is how it is done. This post assumes you have taken a set of images with a varying range of focal points.
The Process of Focus Stacking using Photoshop
Open Photoshop, and click on File > Scripts > Loads Files Into Stack
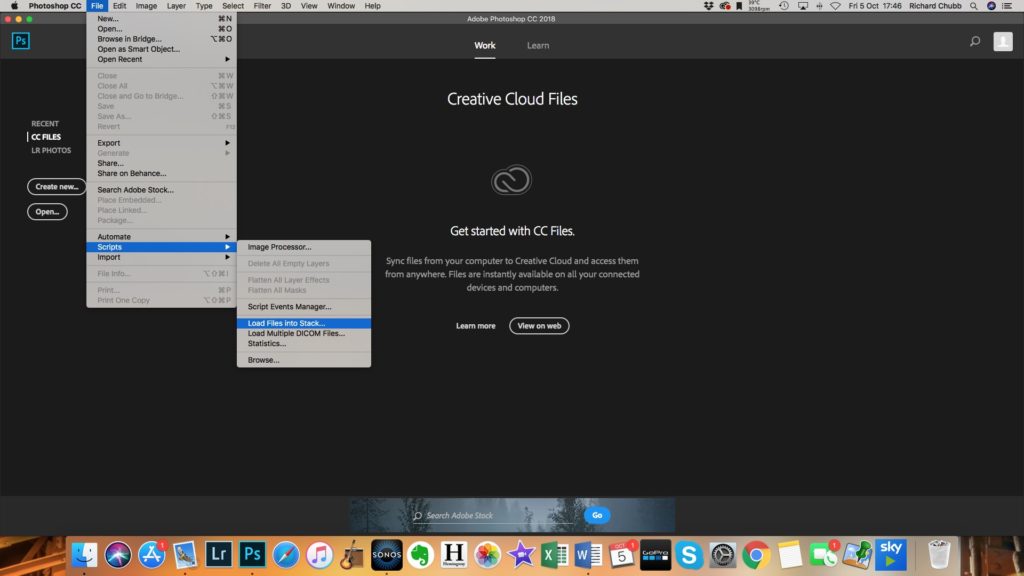
You then need to click on Browse and navigate to where your photographs are saved.
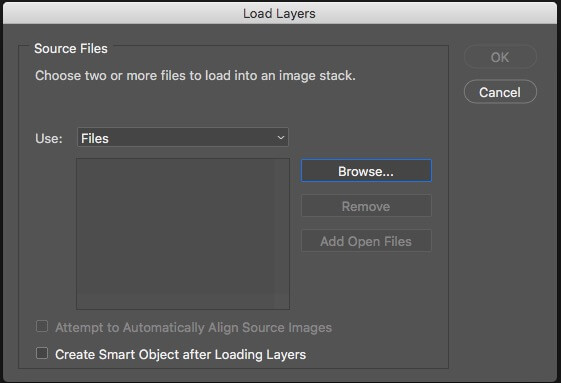
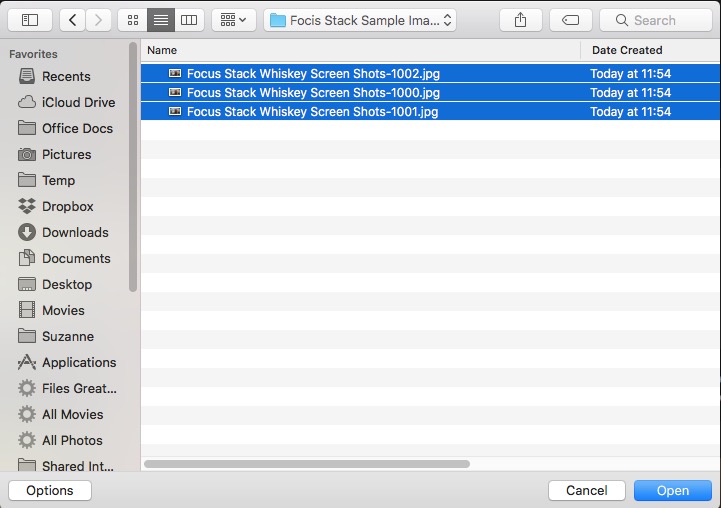
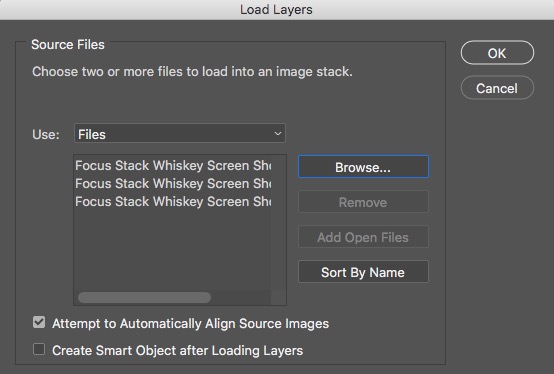
Once you have highlighted your set of images, click on open, and you should get the below Window.
Make sure you have the Attempt to Automatically Align Source Images box ticked, and click ok.
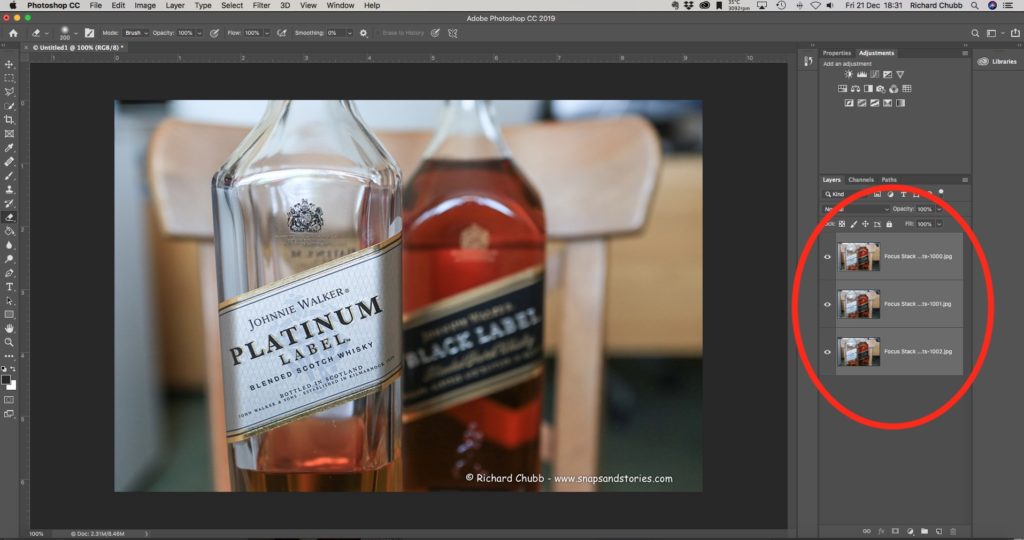
This will open all the selected images in Photoshop as a Stack. You can see the images you have opened in the Layers panel down the right-hand side.
Focus Stacking – Merging the photos into one
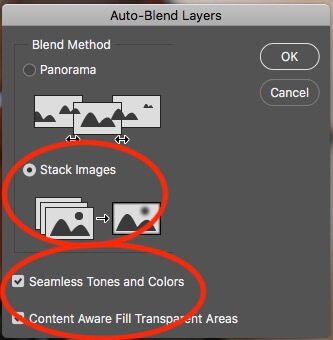
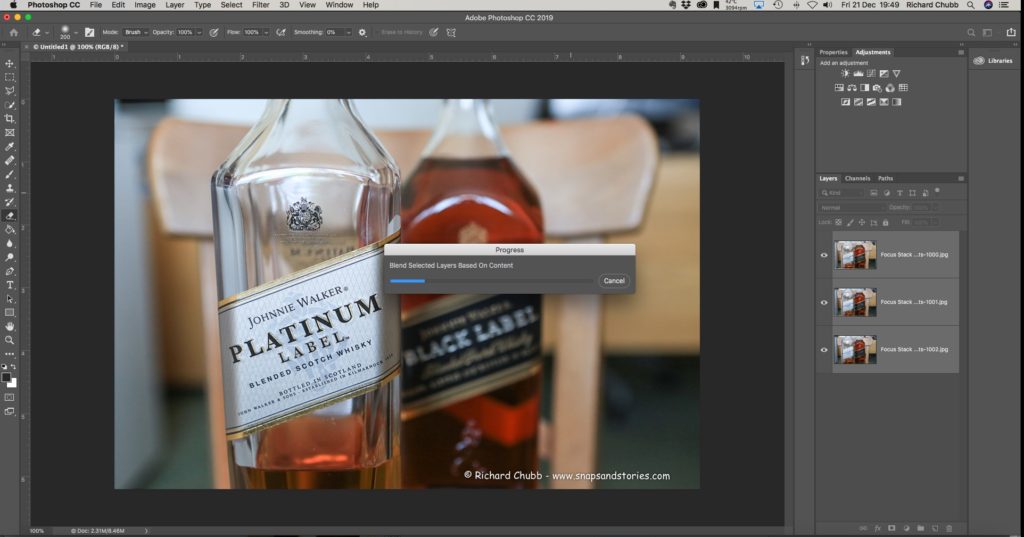
Make sure they are all highlighted, and click on Edit > Auto-Blend Layers

When this window appears, be sure to click on Stack Images and tick the Seamless Tones and Colours plus, the Content Aware Fill Transparent Area boxes.
Photoshop will then do its thing, and all the layers will blend together, essentially giving you the sharpest bits of each of them.
You should see this screen, and it may take a while, depending on how many photos you are blending.
Focus Stacking using Photoshop – The Final Photo
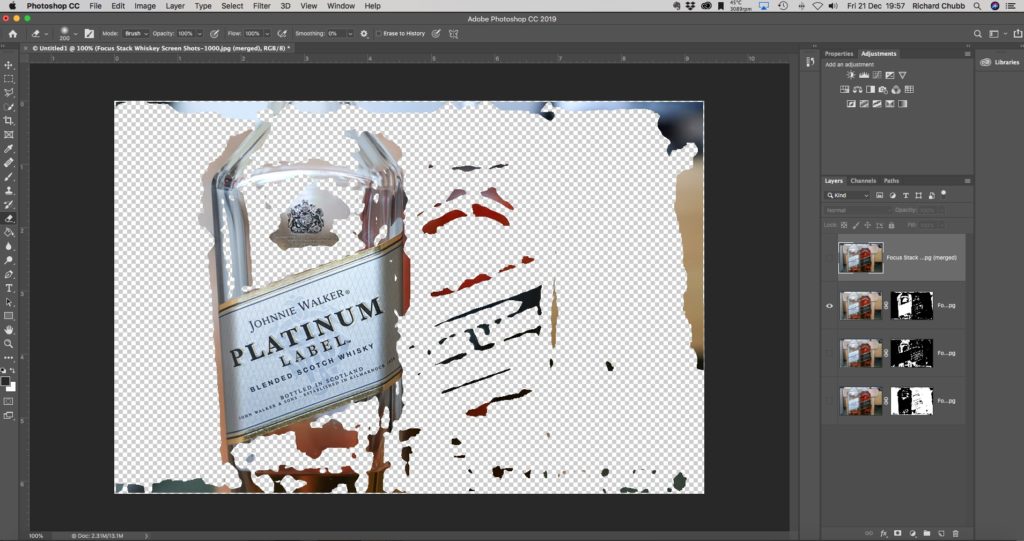
Once they are all Blended, if you look again in the Layers panel down the right hand you can see which part of each image has been used to create the final one.
To make this more apparent, just hide all of the Layers, except one, and you will see what part of that image is being used in the final image.
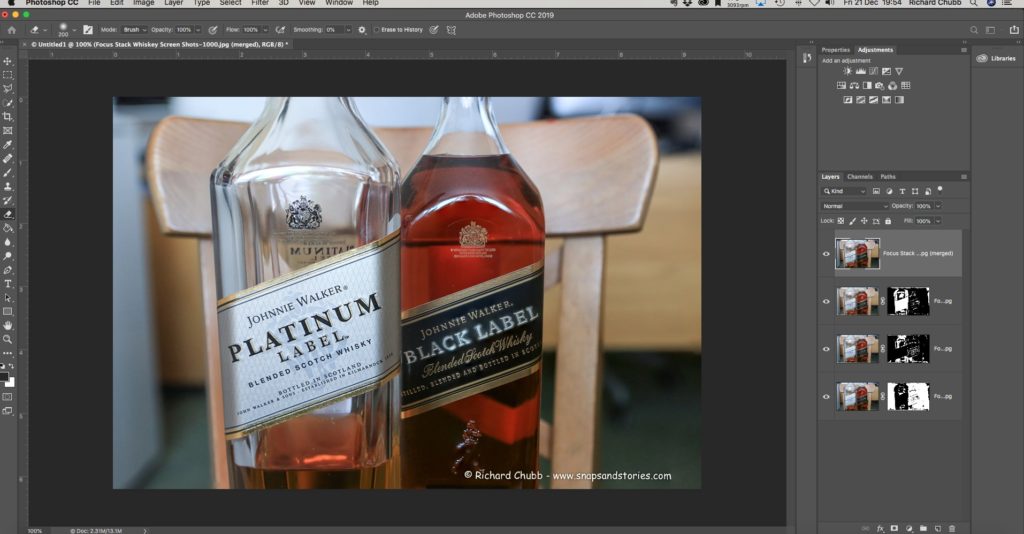
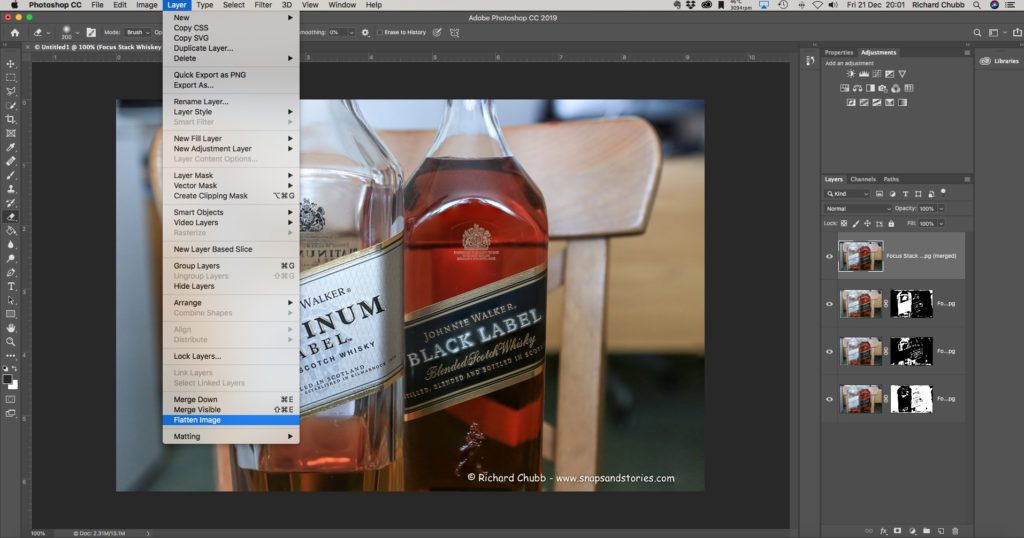
Make all the layers visible again, and then click on Layer > Flatten Image.
Once flattened, you will see the Layers panel only has one Layer or Image in it.
This will be the final, Blended image, and it is now time to save out to your hard drive.
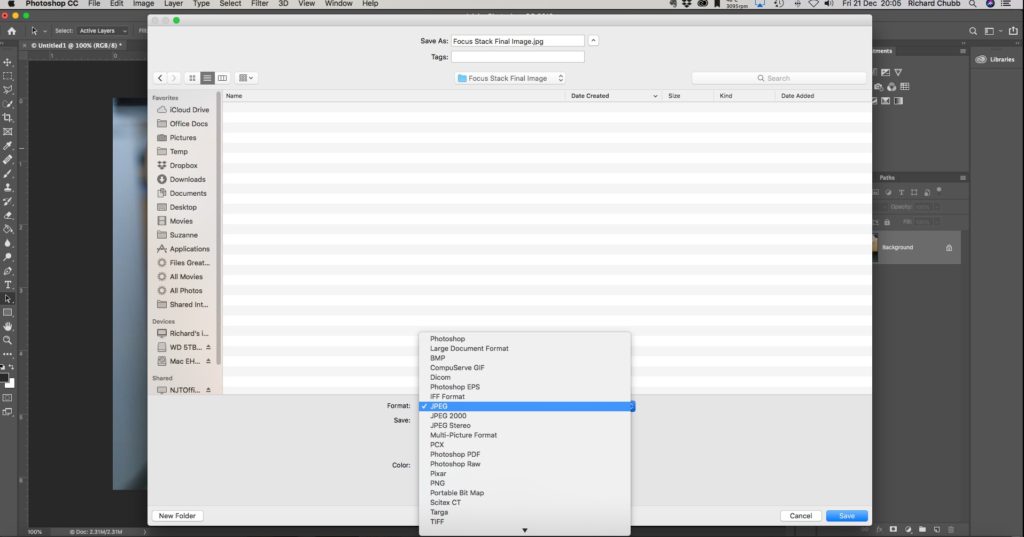
Click on File > Save As
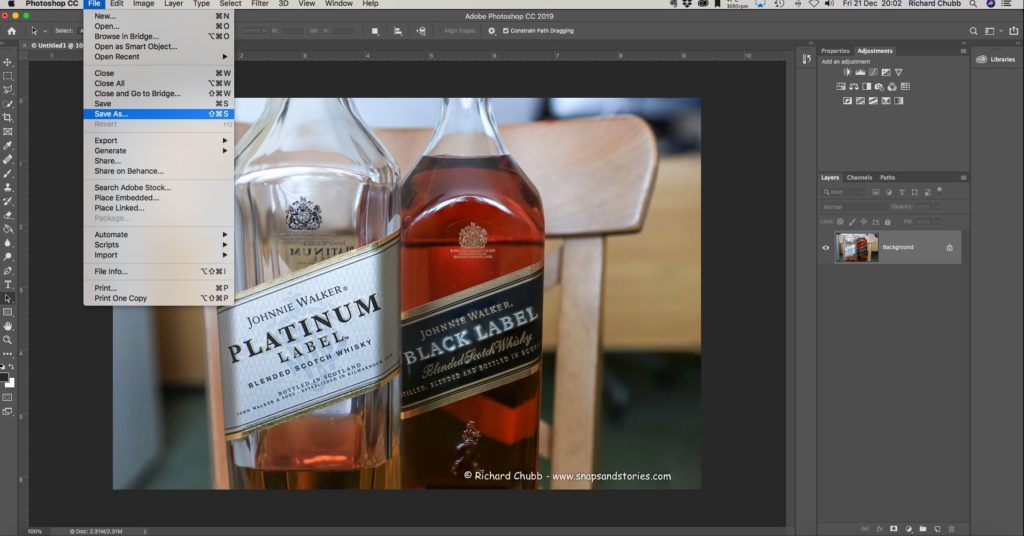
Navigate to where you want to save the final image and rename the file to something suitable.
Make sure you select the desired File Type from the dropdown box at the bottom.
If you get the following window, I would always suggest saving it as the highest quality and largest file size possible.
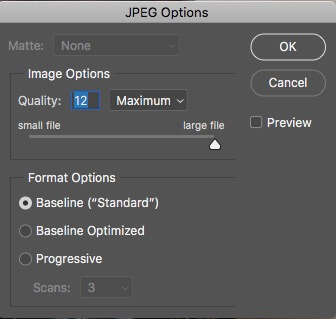
You then have a ‘Master’ to work with.
Here is the final image. Sharp from front to back and ready to use.
So, a very simplistic way of merging a set of images to produce a sharp image from front to back.
All that is left to do, is to go and get a glass, one ice cube, and pour a nice Whiskey.
As mentioned in the video, I recommend the Platinum!!