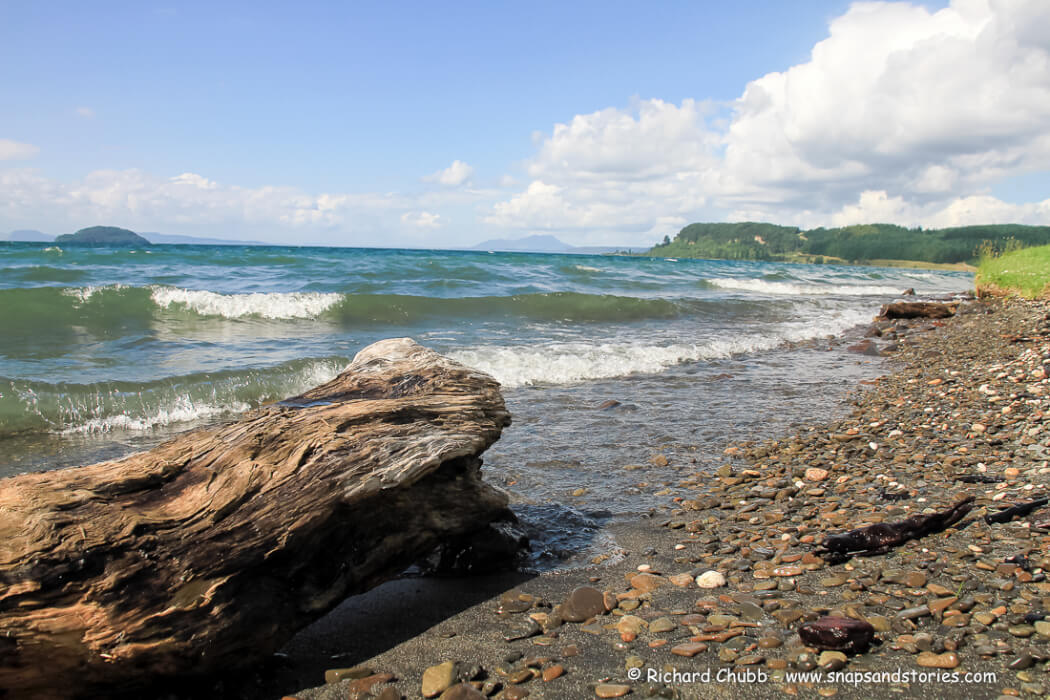
Using Foreground to create depth in your photos can really add a lot to an image.
We have all been there I am sure. You are wandering around a new location, you look out and see a stunning vista in front of you.
You take the shot. Glance eagerly into the little screen on the back of your camera, and wonder why it doesn’t give you the same feeling like the real view itself.
It looks flat and boring, and you rack your brains as to why you took the shot in the first place. While the main scene you are shooting may be a landscape that stretches off into the distance, it helps to give it a sense of depth, by adding something in the foreground.
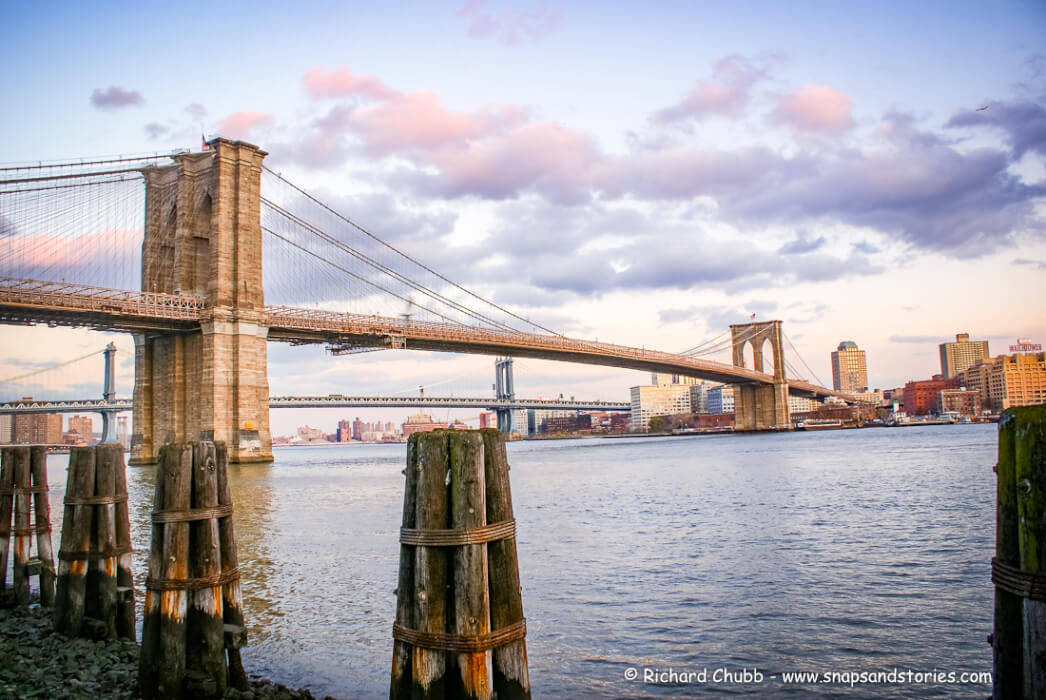
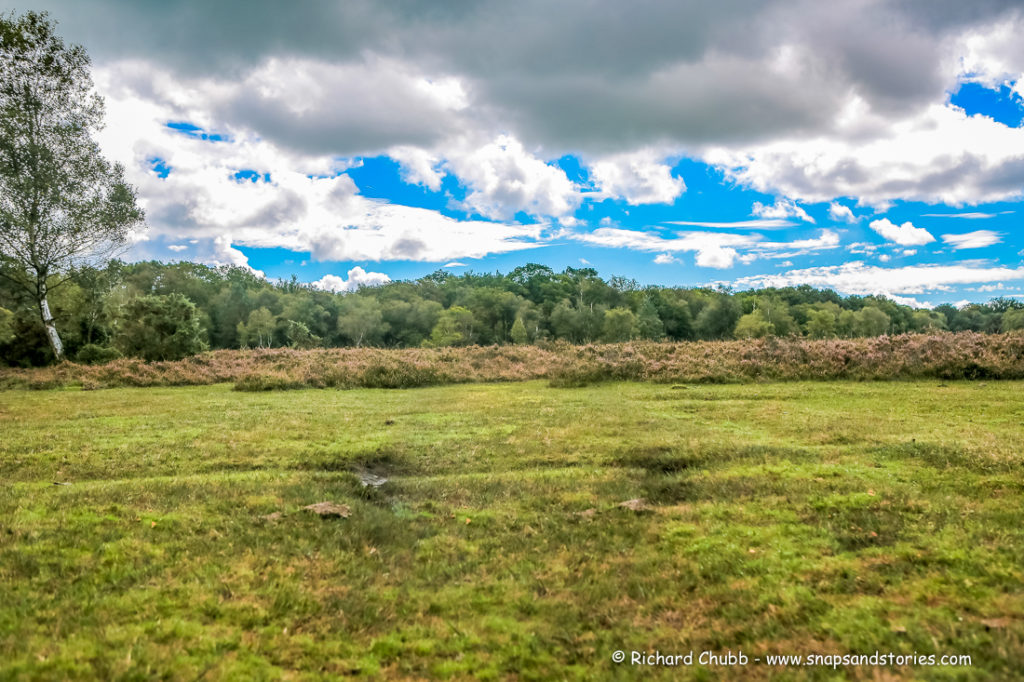
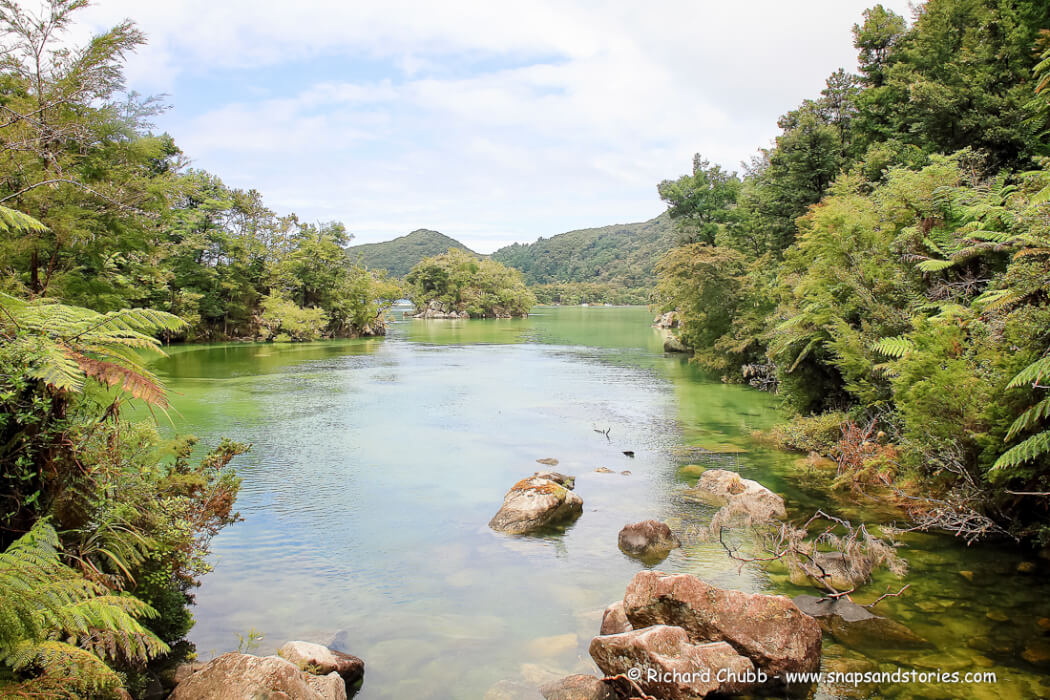
In my opinion, of the two photos below, the one on the left has a little something more to it. I accept that neither of these are particularly stunning photos.
But, it should prove that having an object or part of the scenery or a foreground focal point can add something to the image.
Using Foreground to create depth in your photos
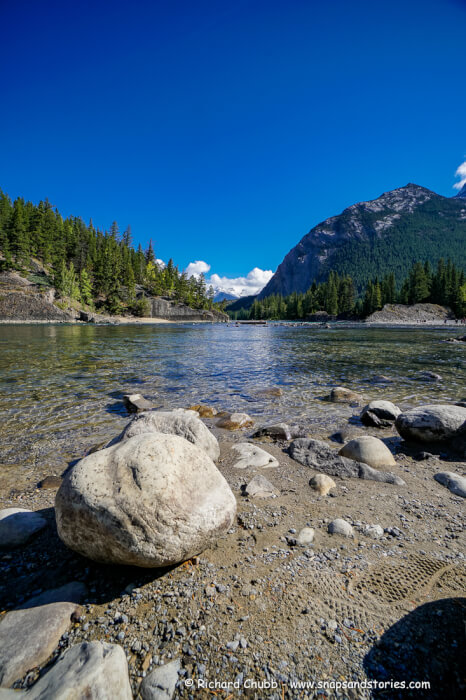
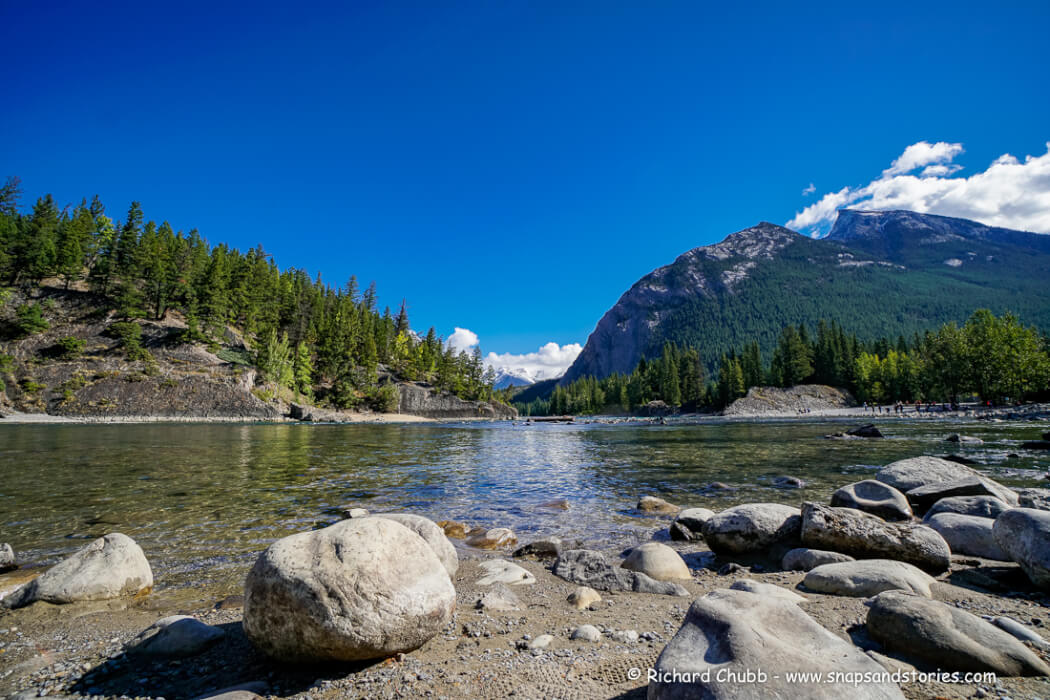
Just in case, a short explanation what exactly I mean by the foreground. The foreground is the closest element of the picture to you. Take the below photograph of Lake Louise for example. In it, the rocks would be the foreground and the mountains in the background. This particular photograph was shot on a [amazon_textlink asin=’B01BMAIEFE’ text=’Sony A6300′ template=’ProductLink’ store=’richchubb-21′ marketplace=’UK’ link_id=’902aa288-04ac-11e9-ad81-050cebb7ccbd’] using the [amazon_textlink asin=’B009AU9CQO’ text=’Sony 10-18mm lens’ template=’ProductLink’ store=’richchubb-21′ marketplace=’UK’ link_id=’c82c8e6f-04ac-11e9-876f-5346c6365f0e’] at f9.0 and 10mm.
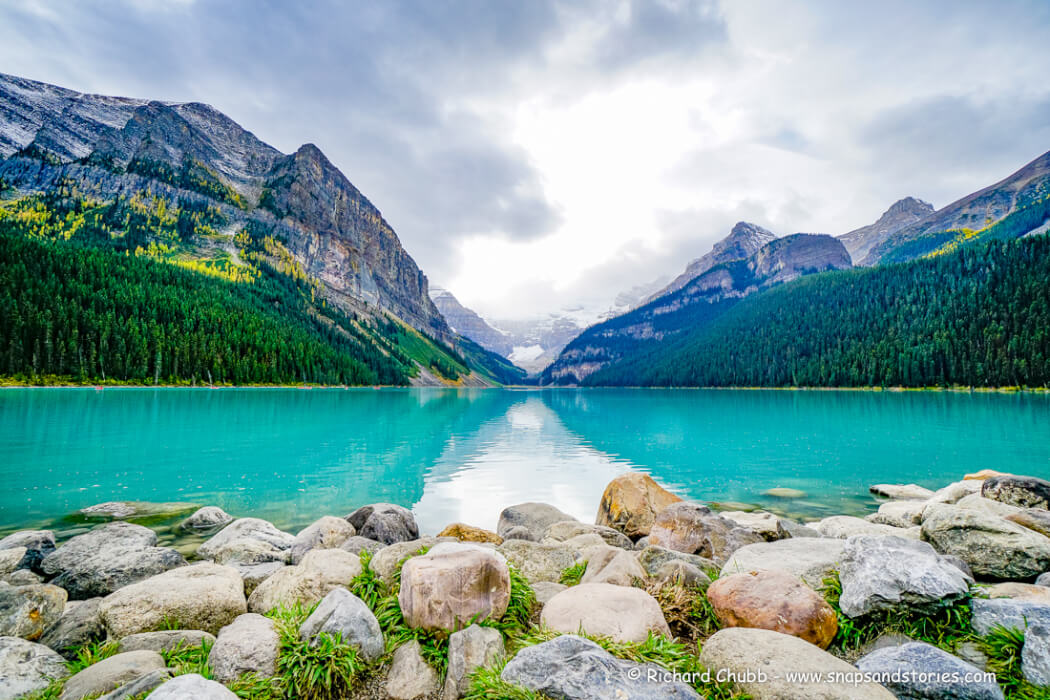
The large depth of field and wide angle lens helps to ensure that a lot of the scene is in focus.
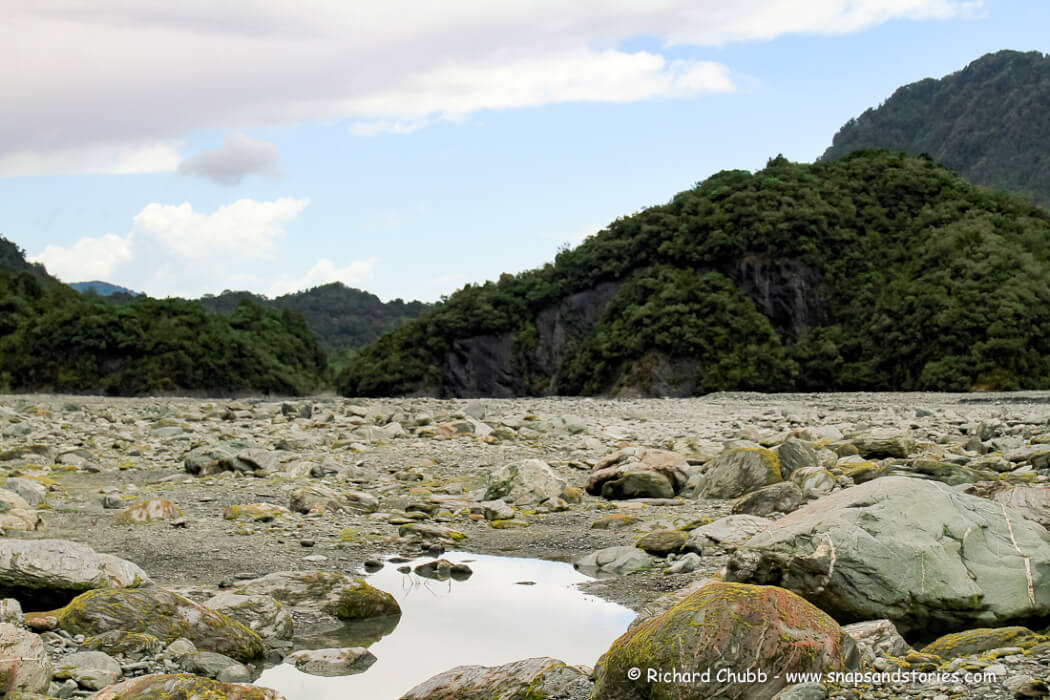
The below photograph, on the other hand, is slightly different and was shot using completely different settings for a very good reason.
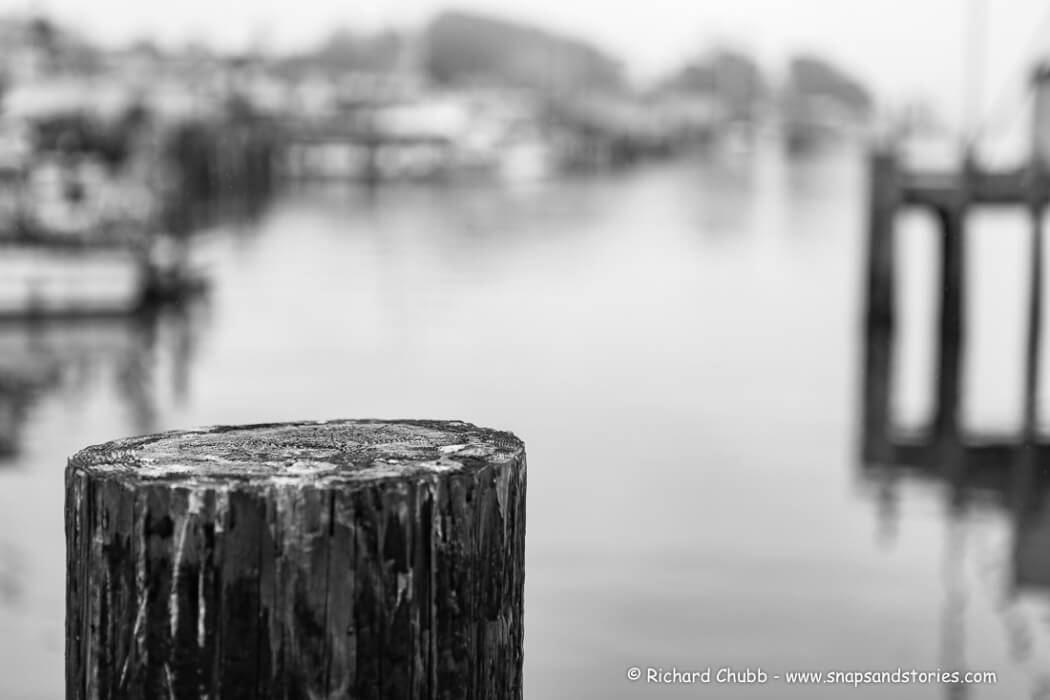
This was shot on a [amazon_textlink asin=’B01MDNLN51′ text=’Canon 5d Mk3′ template=’ProductLink’ store=’richchubb-21′ marketplace=’UK’ link_id=’49d1b973-0504-11e9-975e-27c0523a9dba’], using the [amazon_textlink asin=’B0076FS09A’ text=’24-70 f2.8 lens’ template=’ProductLink’ store=’richchubb-21′ marketplace=’UK’ link_id=’6e909dcb-0504-11e9-b7d8-2d7238c2bcb3′].
The settings for this photograph were f2.8 and 70mm. This means it was fully zoomed on the 24-70mm lens and a very narrow depth of field. Notice the only real part of the image in focus is the top of the log. But that was the point. Trying to emphasise one part of the image, while blurring the rest.
When you are out and about, looking for a specific shot, or just happen to see one you like, take the time. Try using the foreground to create depth in your photos. Is there something lying around that you can move into the shot to help. A rock or a log for example?
Generally, the basic rules of composition should apply, but using a foreground element to create depth in your photos is a good way of making a decent photograph out of an otherwise ordinary one.

