Writing photo heavy blog posts on the road is something I do often. As a result, I like editing and resizing the photos before they are uploaded. Therefore, how to Resize photos on an iPad is important to me.
Travel Blogging with an iPad – How to Resize photos on an iPad
Sketchy coffee shop wifi or relying on your mobile phone data allowance in another country is not advisable! Instead of uploading your photos at full resolution, and relying on a WordPress plugin (or something similar) to resize, I think it is better to resize on your iPad, and upload the smaller version.
For this, I use Batch Resize – (Free / £2.99 no ads)
How to Resize photos on an iPad – How to Use Batch Resize to compress images
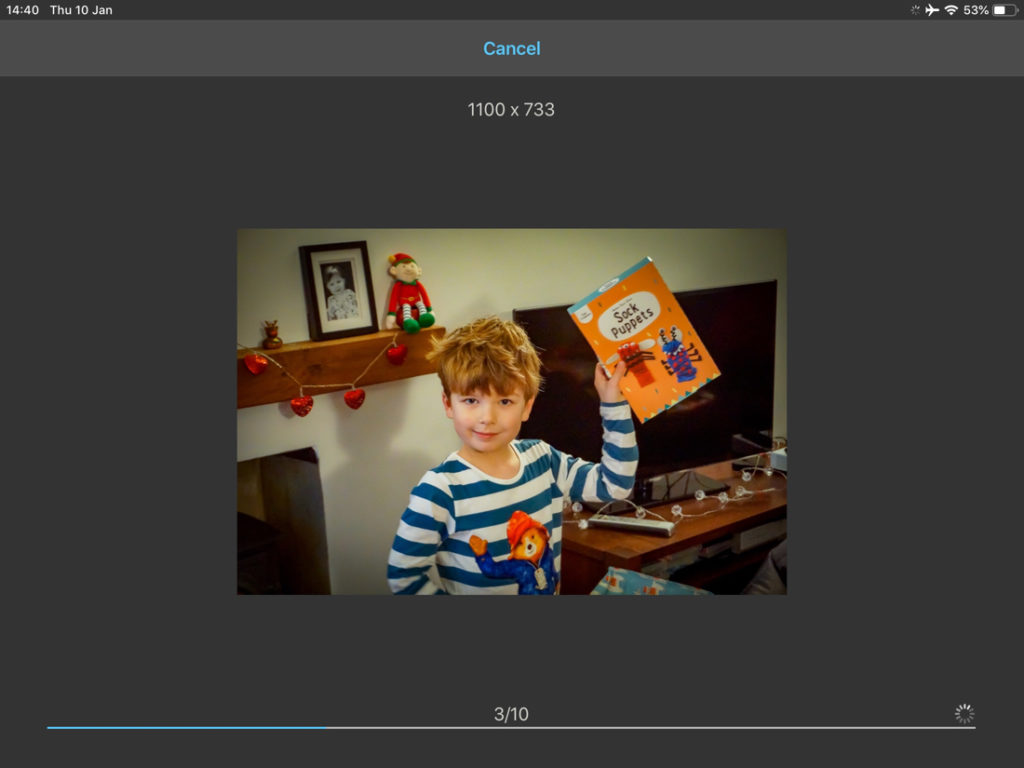
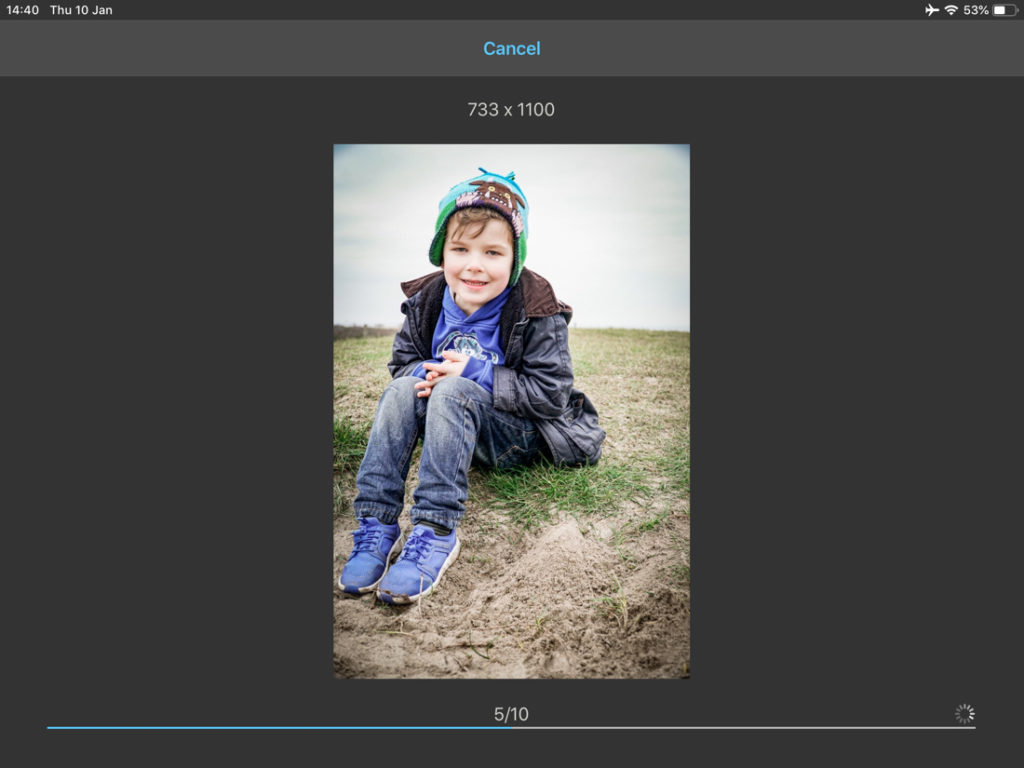
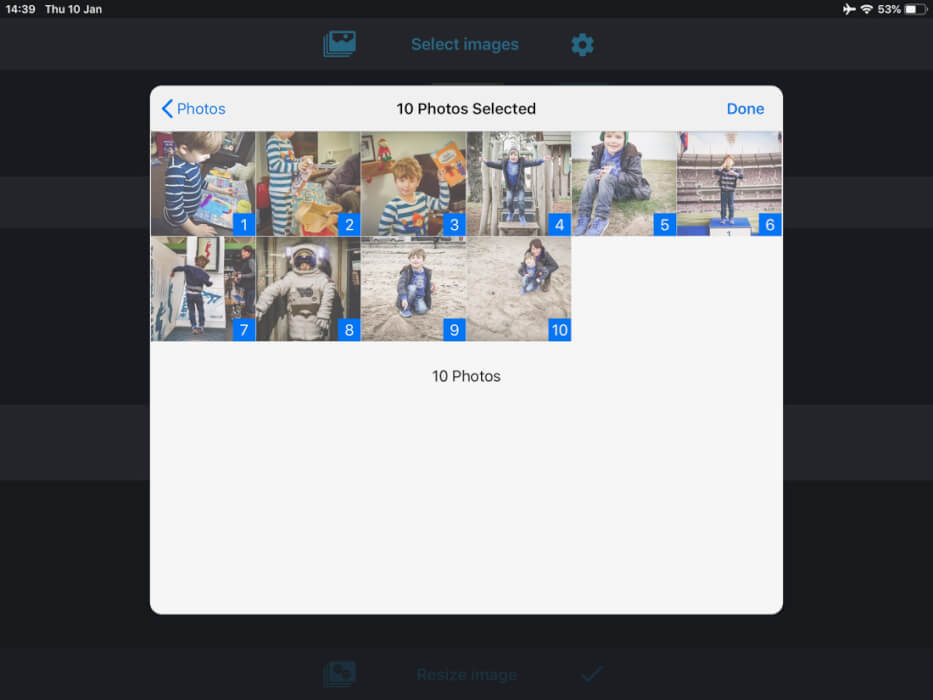
So you have edited the photos on your iPad, and are ready to resize them. Here are a selection of photos I am going to use for this tutorial. These were a few photographs taken over the Christmas period.

Open the Batch Resize App and you will be presented with this screen, or something similar if you haven’t removed the adverts.
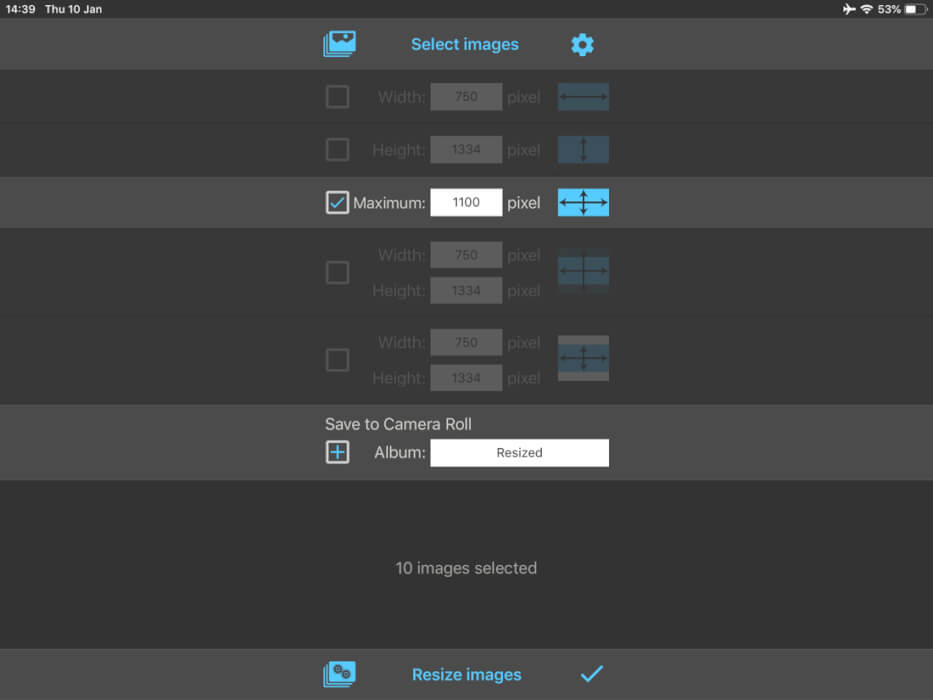
There are a few options for you to determine what size you want the image to be reduced to. I always add my images to my website with a maximum long size of 1100px. So, I have chosen the ‘Maximum’ option and stipulated 1100px.
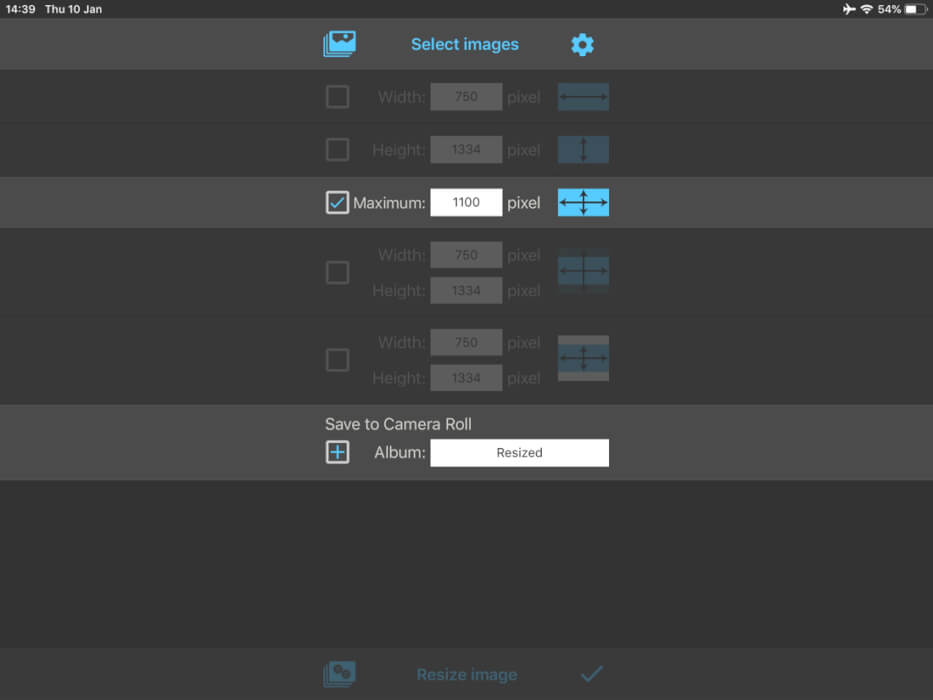
Next, tap ‘Select Images’ at the top.
Now, I have over 40,000 photographs in my Photo’s app, mainly as it is hooked up to iCloud. As a result, it can take a while to open.
I turned off iCloud for a day and it open really quick, so if it takes a while on your iPad, this may be why.
You will see from the below that if it does take a while, the ‘Select Images’ at the top will be highlighted for a while as it hunts to load the galleries.
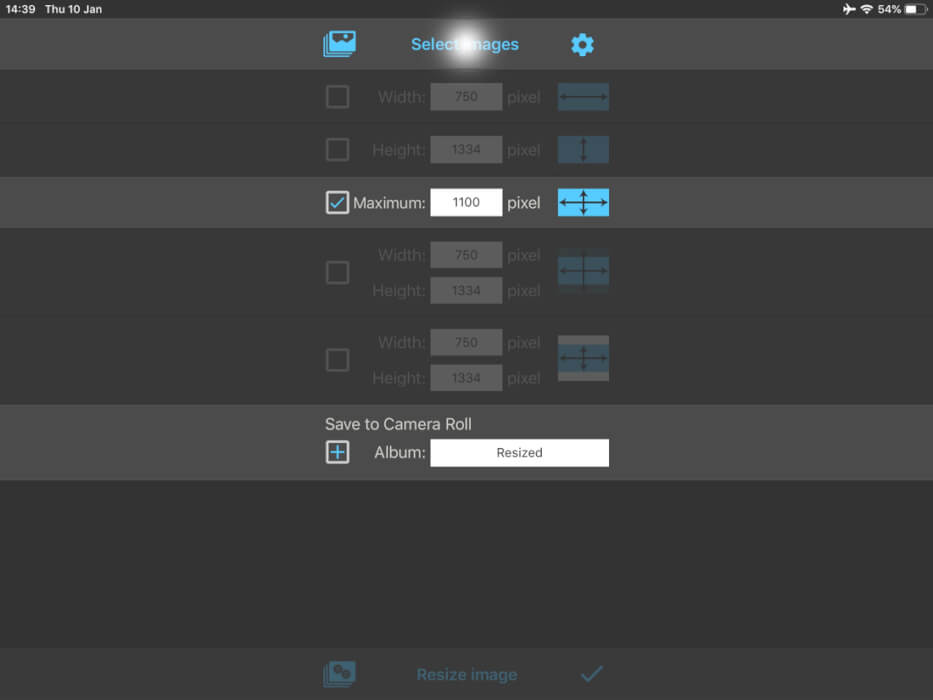
Note, in the above screenshot, the “Resize Image” button is not active, and greyed out.
You will then be given the option to navigate to where you saved the photos from either your WiFi transfer or Card Reader transfer.
How to Resize photos on an iPad – The actual Resize part!
Once you have selected all the photos you want, hit Done and the images will load in the background.
You will see there is a section called “Save to Camera Roll”.
Resize or Batch Resize is the default in here. You could type a new name and it would generate an Album of that name, but I find it is just as easy to leave as the default.
In the following shot, you can see the “Resize Images” button is now active, and you can tap this.
What happens next is the app resizes your selected images to the requested size.
As it processes the photos, it gives you a run through of the image it is processing. It also shows you the progress it is making.
It works through the images and once done, it returns to the main screen again.
 You can now head to your Photos App, look for the folder you asked for the resized photos to be saved in, and there they are.
Basically, what you have just done is point Batch Resize to a folder, and selected some images.
It has picked up the selected photos in that folder. Resized them and saved them back out to a new folder.
So, in your camera roll, you now have the same images in two folders.
The next step would be to upload the resized photographs to your preferred blogging platform.
I hope this has helped a little bit.
When I have travelled in the past, uploading large images has always been a pain. This way, it means the files are so much smaller, take less time, and less data.
Win, win and win!!


